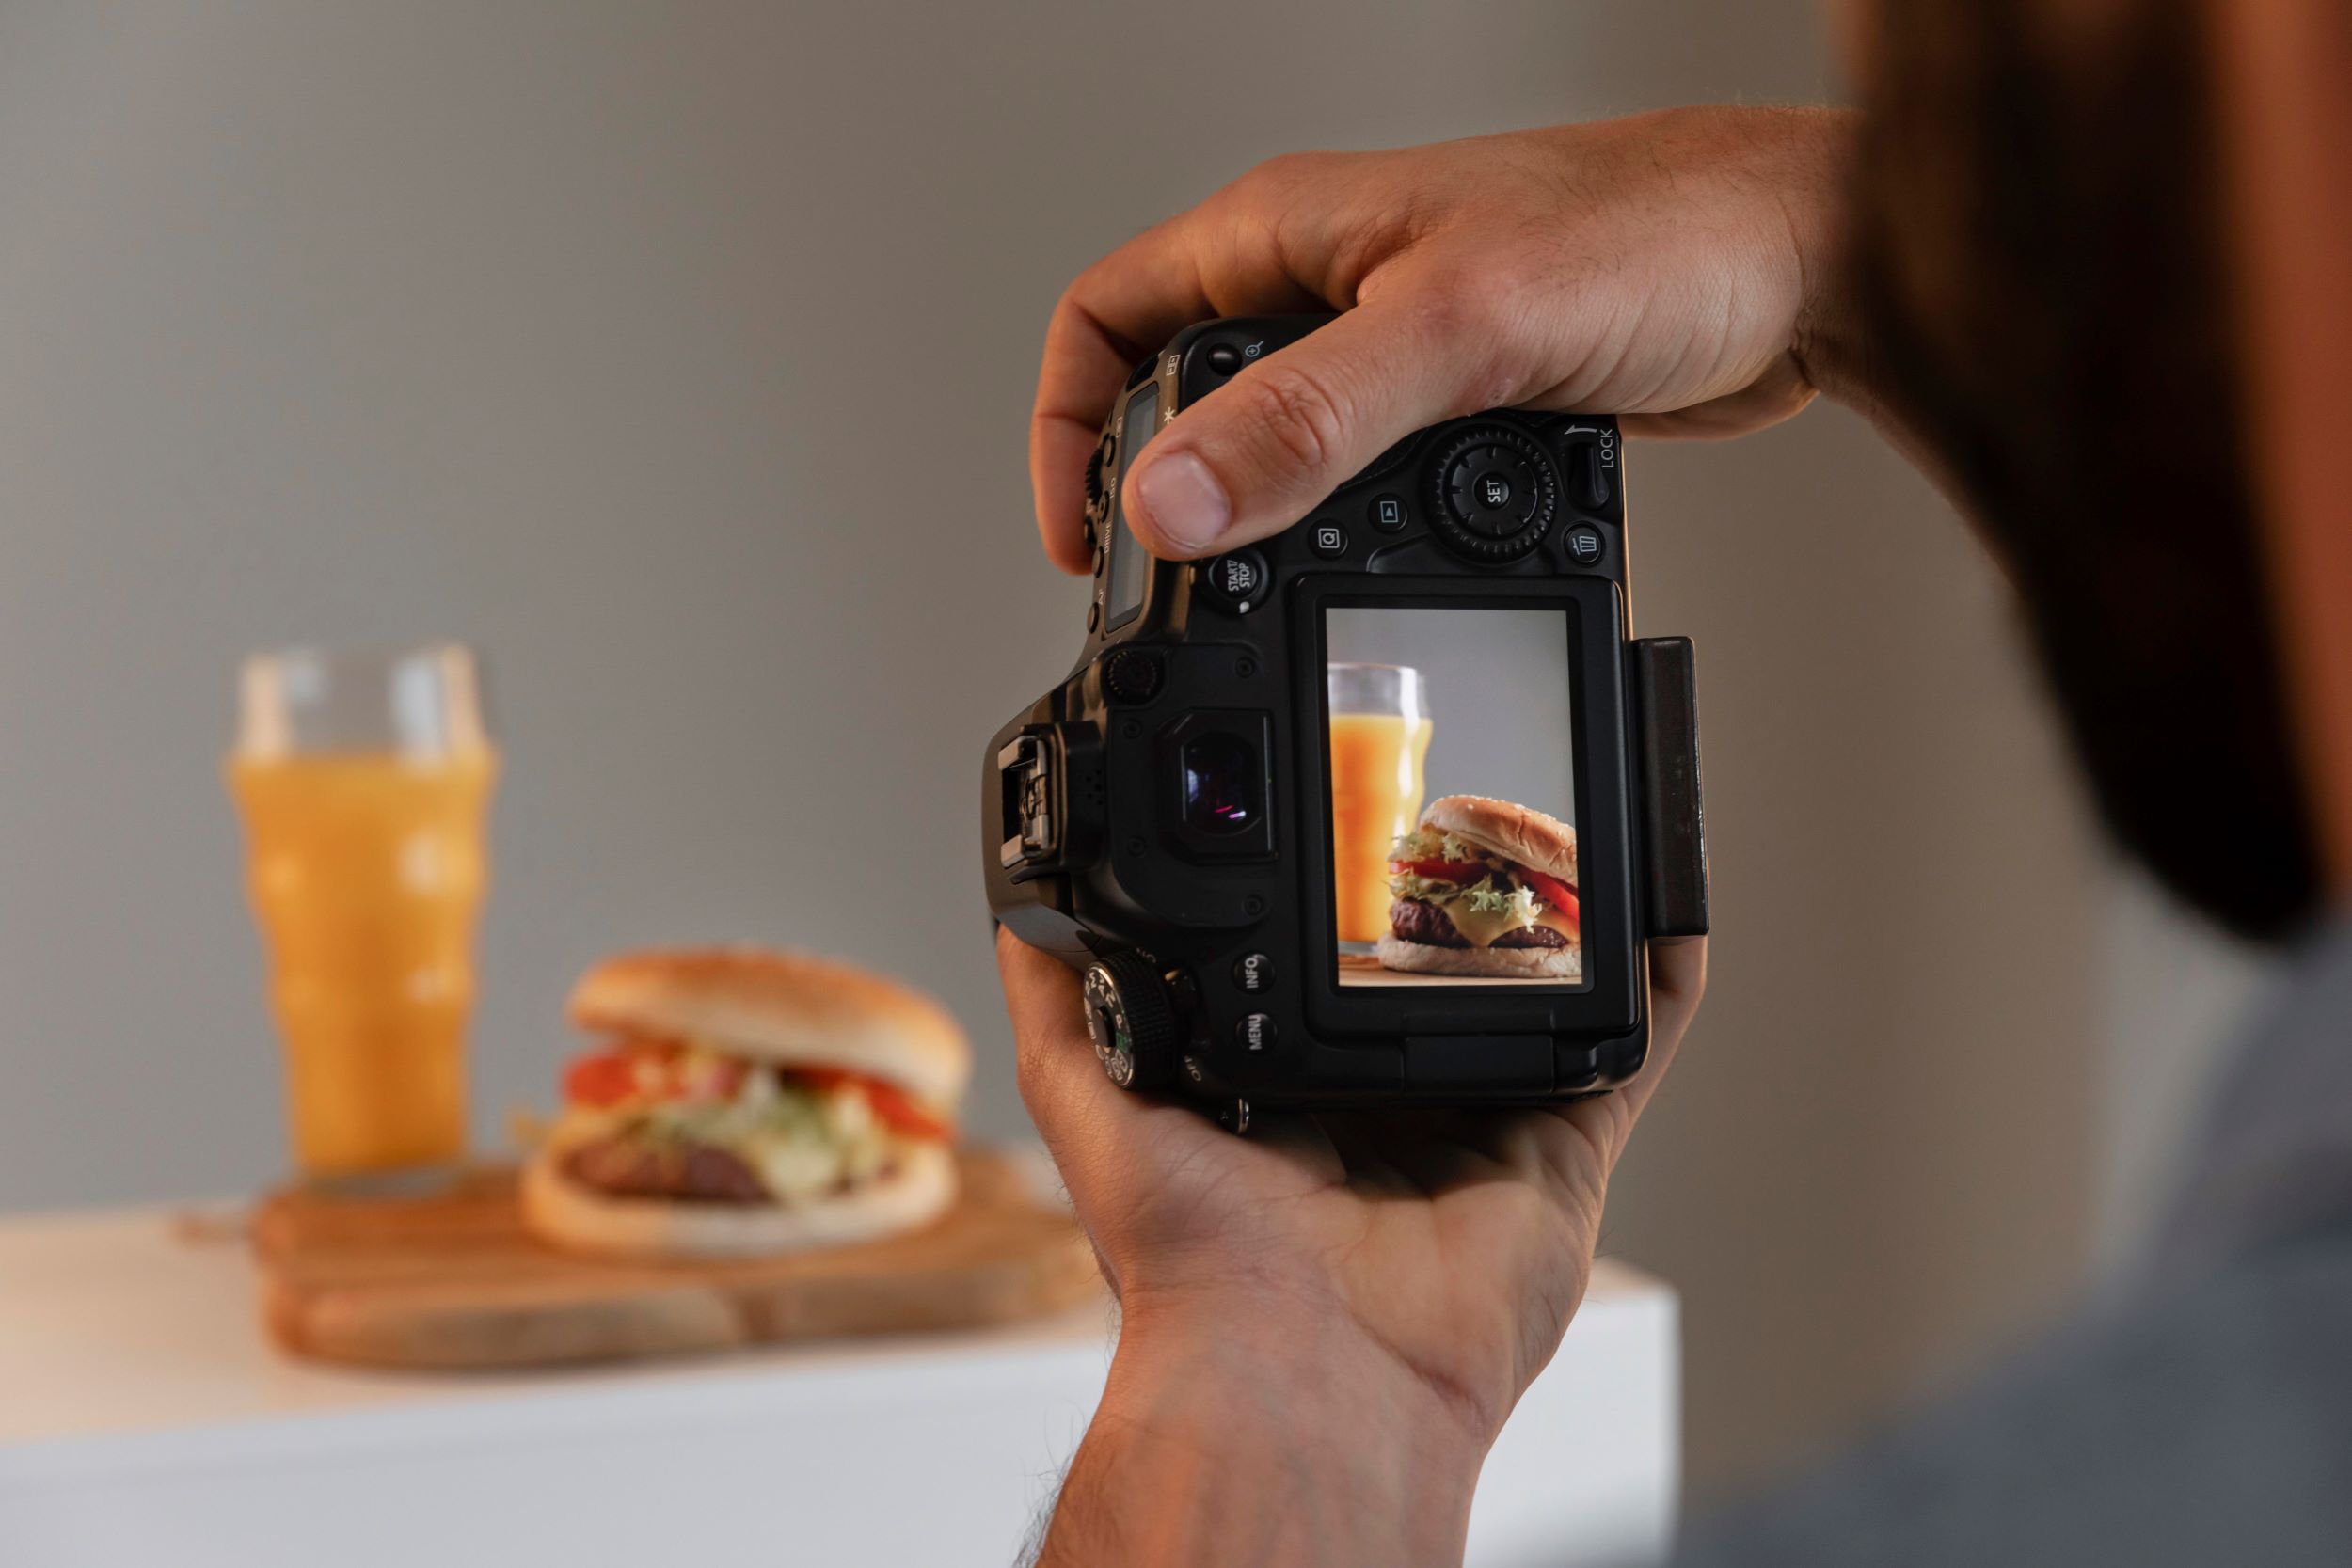
Mastering the Art of Product Photography: A Comprehensive Guide
In the vast world of digital marketing, product photography isn’t just a requirement; it’s an art form. It’s the silent salesman that works tirelessly across your website, social media, and advertisements. As professionals in product photography, we’ll tell you what it is, what equipment is needed, and some necessary tips to get some stunning photos.
WHAT IS PRODUCT PHOTOGRAPHY?
Product photography is an extension of commercial photography that helps you show off a product in a way that is correct and appealing on your website, social media, or ads. Customers make decisions based on how well the products are photographed. They not only get people’s attention, but they also make them want to buy by showing a clear, appealing picture of your goods.
WHAT EQUIPMENT IS NEEDED FOR PRODUCT PHOTOGRAPHY?
Here’s the basic equipment that will help you create professional-looking photos even from your home.
1. Camera: The truth is that even entry-level DSLRs or mirrorless cameras are more than capable of producing excellent images suitable for product photography.
You can’t just buy a camera and expect good results; you have to take the time to learn how it works and try out different settings. Being able to use your camera’s settings to their full potential will be just as valuable as any high-end equipment upgrade.
2. Lenses: For product photography, a standard 50mm lens is usually sufficient for small to medium-sized products. For larger items, a wide-angle lens might be necessary.
3. Tripod: A tripod helps keep the camera’s frame and alignment straight so that every object is photographed from the same angle and point of view. It also lets you change the lighting and composition without losing the frame.
When you hold the camera by hand, it’s hard to get this level of uniformity because even small changes in angle or height can disrupt the visual flow of product listings.
4. Lighting Setup: Things like softboxes, umbrellas, and ring lights can change how your product pictures look.
You can change the direction of the light in a softbox, so it can look like anything from a bright sunny day to soft indoor light. This is great for setting the perfect mood.
As a general rule, umbrellas are good for lighting up bigger or shiny things without making them too bright.
For small, detailed things like jewelry or tools, ring lights are the best thing ever. They shine a steady, even light right where you’re shooting, getting rid of shadows and making the details pop.
5. Backgrounds: In addition to filling the space behind a subject, a well-chosen background sets the stage, improves the mood, and gives dimension to the composition as a whole.
The majority of people prefer using neutral backdrops like white or light gray. This is because these colors create a clean, unobtrusive background that doesn’t distract from the product. These hues are delicate enough not to steal the show, yet bright enough to reflect light and make the object stand out.
KEY TIPS FOR EFFECTIVE PRODUCT PHOTOGRAPHY
These are tips we apply to get good product photographs.
1. Maintain Consistency: Consistency in angles, backgrounds, and lighting setups ensures that all product images align with the brand’s aesthetic and narrative, providing a seamless visual experience for customers. Furthermore, a consistent visual strategy makes a brand instantly recognizable, which is essential in building customer loyalty and brand equity.
2. Detail and Clarity: If you want your product’s most important features to stand out, use the manual focus on your camera. To achieve the desired depth of field, you can adjust the aperture of your camera. In a studio, an aperture of f/8 to f/16 is typically sufficient to focus the entire subject.
3. Control Shadows: Knowing how light interacts with your product will help you regulate shadows effectively.
Achieving control over shadows relies heavily on the positioning and nature of the lighting. When the light source is either extremely near or extremely bright, it can cast harsh shadows. The use of diffused lighting can help to alleviate these shadows. To do this, you can use a white umbrella or softbox to diffuse the light and cover the product more uniformly while lighting it.
4. Vary Your Perspectives: Make sure to capture the product from several angles and perspectives so you can give a detailed visual description. To give the buyer a better idea of the product’s size and quality of build, include top, side, front, and close-up shots.
5. Post-Processing Skills: Educate yourself on the fundamentals of photo editing. You can make your product images look much better by editing them in post-production to fix exposure, colors, and crop for composition. Our competent designers are proficient in all major photo editing programs and can transform our clients’ amateur shots into stunning works of art.
You can create your home photography studio even in your room if you have the drive and passion for your photography otherwise you can get consultations from 3DM Lens or have us photograph your products. Contact us today!

